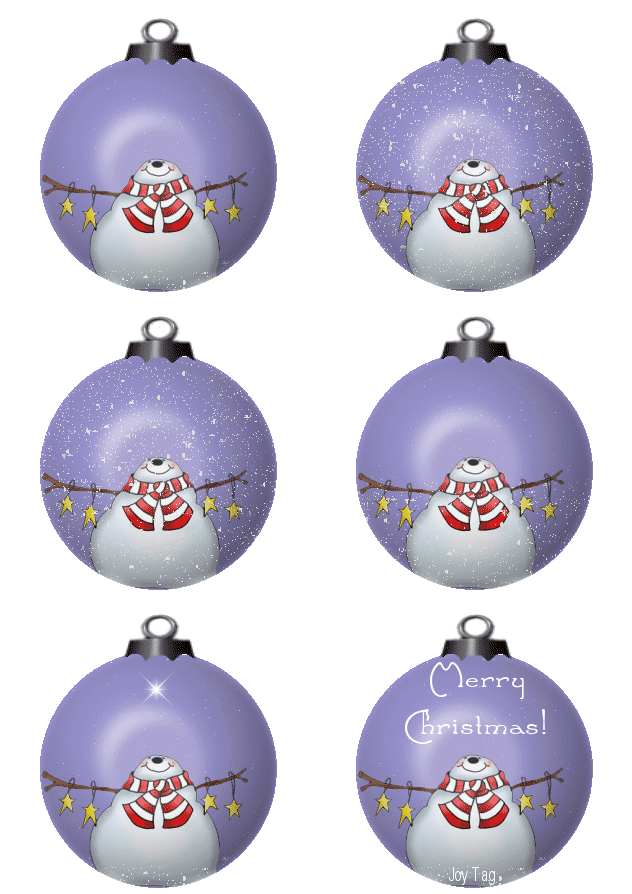
Tis the Season!
Coming faster than I want to think about!
:) So....Snowglobes are in.
So many tutorials show 'snow' that is always floating around.
When I shake mine, the snow floats then floats down and settles at the bottom.
This tutorial (hopefully) will show my idea of how to do that.

Please keep in mind when I add anything I always
add it on a separate layer.
I may not specify each layer. But I do make a new one for each thing.
Open the image you want in the snow-globe.
Open a large image 500x500 transparent image.
Here is a zip with my globe pre-made
The snow tube and the top hook piece.
Add the globe to the large 500x500 transparent
image.
Add your image. Drag the image layer under the globe layer.
Click on the globe layer. Select the outside area with the magic wand.
See how the selection is around the globe and around the outside?
Click on your image layer,
then click on the cut icon to cut the extra part of the
image that maybe outside the globe.
To give the look at the image is inside the globe.
*Notice - Image C
__________________________
Image B

Add a layer for the background. Drag it under
the other layers.
Selections/Invert the selection.
The marquee will now be around the globe only.
__________________
Fill the background layer with a color.
To my background color I added some light stars with universe.
__________________
If you have the background behind the top as I did, erase it.
Selections/Invert selection so the marquee is outside the globe again.
Image c

____________________
Now we are going to use something we haven't played with yet.
Alpha channels.
An Alpha channel will keep a selection active
even after you select none on the current image.
Just do it, :) it's easier than explaining. LOL!
Selections/ Save to Alpha Channel
