Tutorial 22
It's getting cold outside.
How about a knitted name tag?

Download this zip with the presets for Blade
Pro.
Save the presets to your environments folder in blade pro.
There are 5 stitch type presets. You have the font from the other tutorial.
Open a transparent image. Mine is 500x500.
You can always resize later.
Pick a chunky font. Vector setting.
Black on top and a light color for the fill.
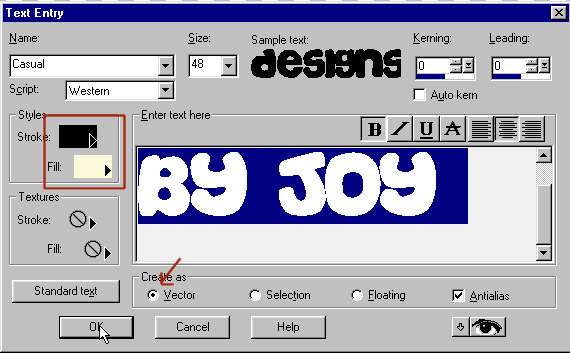
I pulled mine down a bit to make it longer.
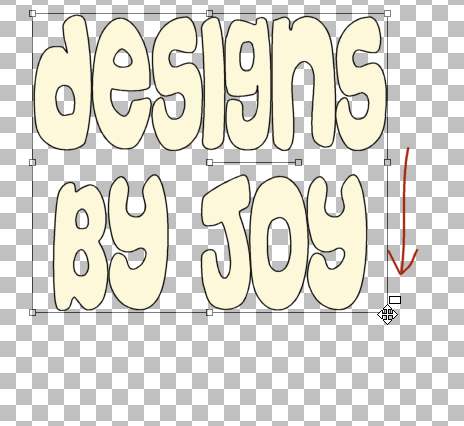
Convert to raster.
click on the light color with the magic wand. Hold the shift down
to select all the light areas one at a time while clicking.

Open Blade Pro. Click on the open icon, noted here.
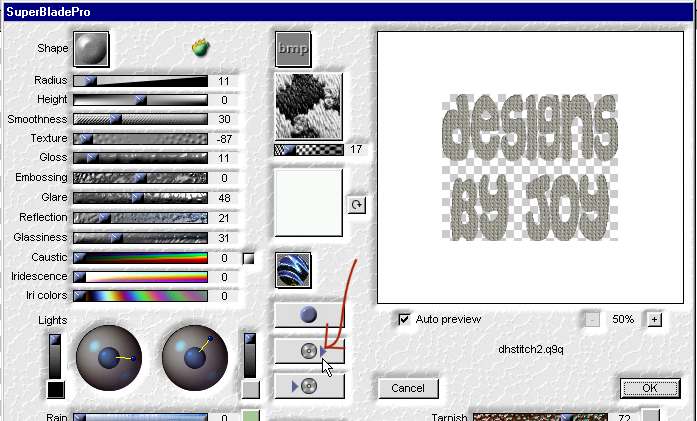
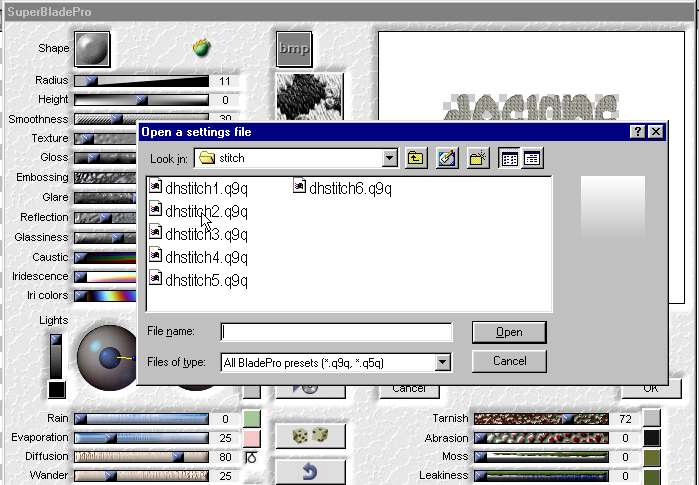
Pick a stitch setting. Then Ok.
No other setting needs to be changed.
You should have something like this.
Leave the marquee.