Flying Angels
Tutorial 9

Download this zip file with the
Angel in psp format and the Signpainter fonts.

Open a large image 500x500
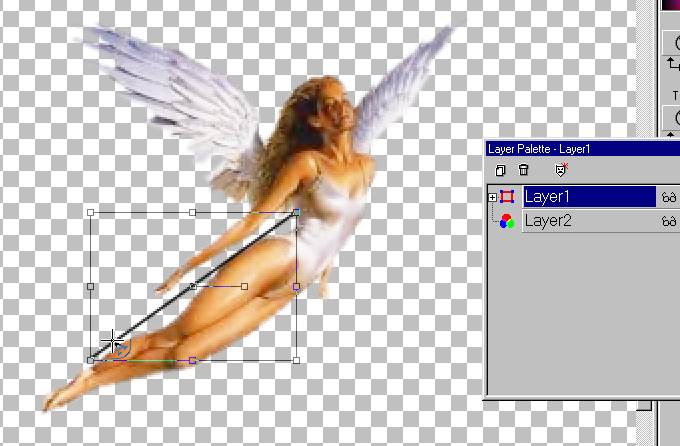
Click on the line icon, Vector setting, Straight line.
Draw  line from her heel to waist for your name.
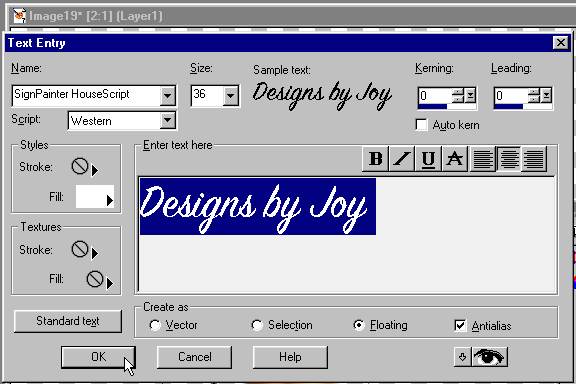
Add your name, floating setting. 
I used white for the font. 
Delete the vector layer.
With the marquee still around the name....
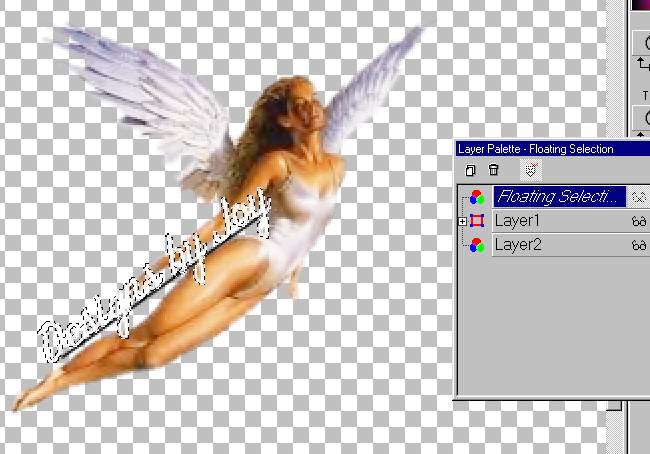
Add a layer under the floating layer,
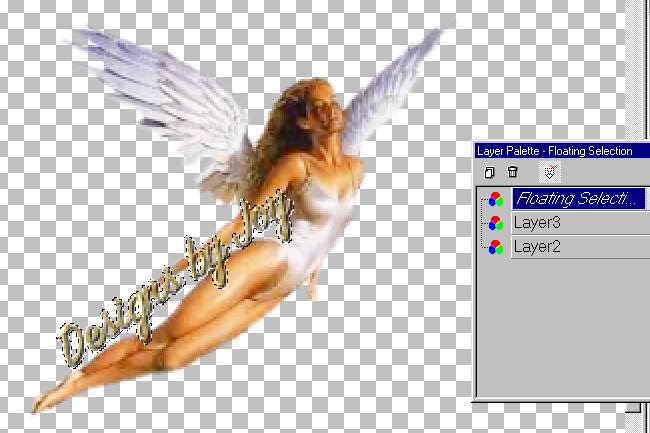
Give your name a shiny bevel in blade pro.
Merge visible layers.

Duplicate the layer. X it out for now.
(This was an after thought. It's not shown here)
Open eyecandy or eyecandy 4000 (This is 4000)
Motion Trail with this setting.
(Eyecandy basic is free now, you can get it here.)
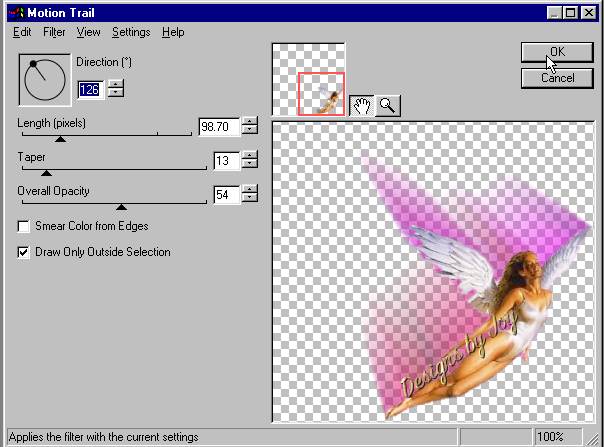
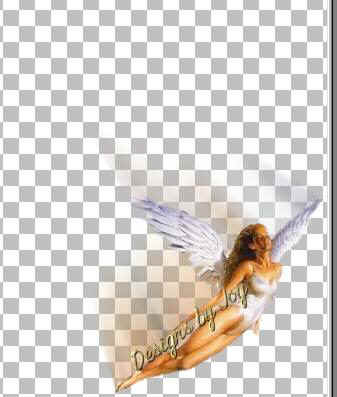
Position the Angel in the lower right corner.
Position the plain Angel on top of this one.
Next Page


Designer Tags @ A Glance 1 Designer Tags @ a Glance 2 Designer Tags @ a Glance 3 Designers Tags @ a Glance 4 DesignerTags @a Glance 5 DesignerTags @ a Glance 6 DesignerTags @ a Glance 7
The tutorials are Designed to follow in order from #1. Effects featured in early
tutorials are not explained in later tutorials.
Designer Tags @ A Glance 1 Designer Tags @ a Glance 2 Designer Tags @ a Glance 3 Designers Tags @ a Glance 4 DesignerTags @a Glance 5 DesignerTags @ a Glance 6 DesignerTags @ a Glance 7
The tutorials are Designed to follow in order from #1. Effects featured in early
tutorials are not explained in later tutorials. If you are brand new to PSP please click here
and do or at least look through the Beginner tuts. If you have trouble with a tutorial,
check out the tutorials preceding the one you are having issues with.