Designer Tags
Tutorial 8

This tutorial is fast and easy but elegant.
Open any image you want to use.
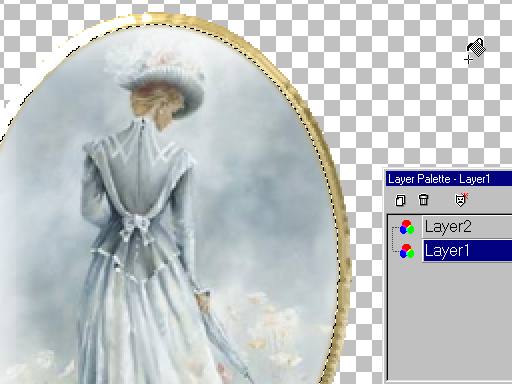
If you want to use the Victorian lady
and the font I used with it, click here.
Click on the selection tool, eclipse
select the area you want to use.
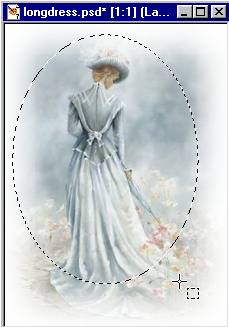
CTRL C to Copy --
Open a new image 500x500,
CTRL L to paste the copy as a new layer on the 500x500 image.

click the magic wand on the outside area to
select.
Selections/invert selections so the marquee is only around the oval.
Selections/Expand/ 4 pixels.
Click on layer 1 (blank).
Fill with white.

Use blade pro, shiny gold as in the other
tutorials.
(Can't tell I really like this preset huh? :)
Notice the RADIUS is set at 6.
You only want to one or two pixels more than you expanded.
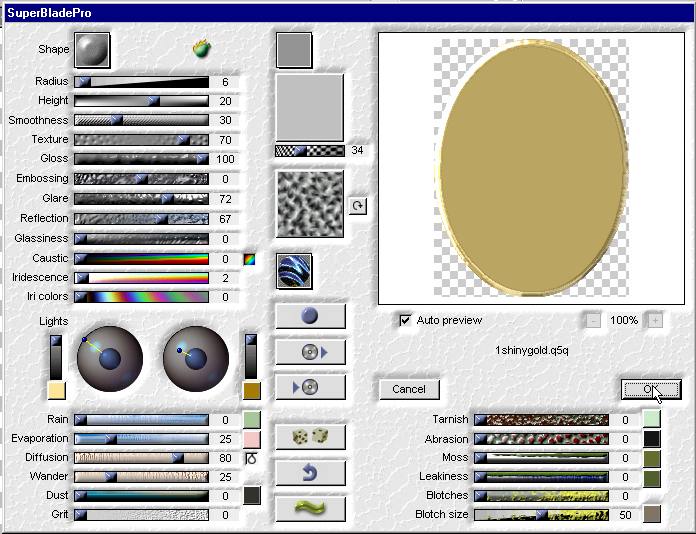
Now you will have a gold base under the image.
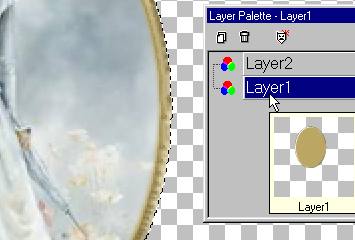
Selections/ Contract 1 more pixel than you
originally expanded.
Here 5 pixels.