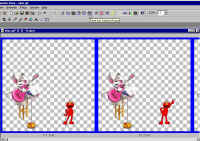
Open the Elmo gif.
Note the number of frames

Copy and paste the two diddle frames to a total of 8 frames.

Ctrl A the Elmo frames to select them all.
Copy
Ctrl A all the diddle frames (8)
Then paste Elmo into Selected frames.

Position, Now you should have the diddle and Elmo happily
dancing together. Open a new image the same as the
large one we started with or a bit smaller.
Click on the Text icon. Add your message.

Effects/Insert Image Transition

I picked Dissolve. Change the frame rate to the
number of frames you have. (8) and the Transition length
to 1.0 seconds. You may have to adjust these numbers to your frames.

Ctrl A the text frames to select them all.
My text started solid then dissolved, I reversed the frames
to
have it start dissolved then go solid.
Copy the frames

Ctrl A the frames. Paste the text into the dancing frames.
Position the first frame and the rest fall into place.

Crop un-needed space and there you go!
I wanted the solid last frame 'just dance' to be visible
longer
while the images continue to dance. So I backed up to the
dancing frames with out the text. There are 8 frames. I copied and pasted
an additional 8 frames, so it double loops. Stay with me. :)
Now I have 16 frames. The text is 8 frames. I selected the
first 8 frames in the dancing frames,
and added the dissolved text. Then I selected the last 8 frames of the dancing
frames.
I copied the single last solid frame of the text and pasted it as a new
animation.
I then Duplicated it to a total of 8 frames.
Selected them all, copy, then pasted in the selected 8 frames of the dance
image.
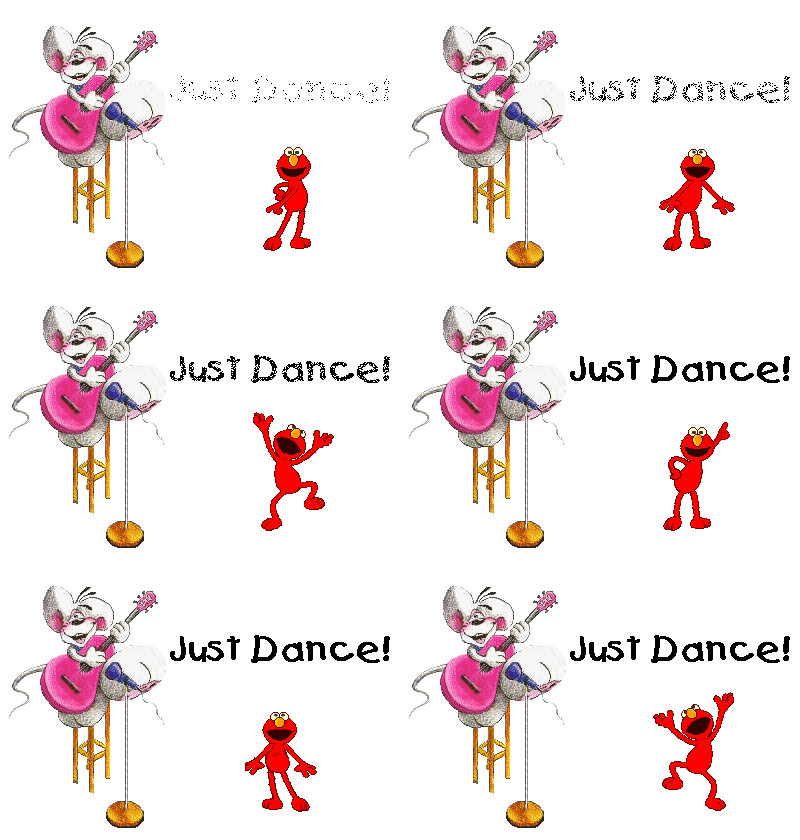
And I got this. The just dance stays a bit longer as the images continue.
I hope you have fun with this tutorial.


