Tutorial 13
Emboss and Overlay
|
|
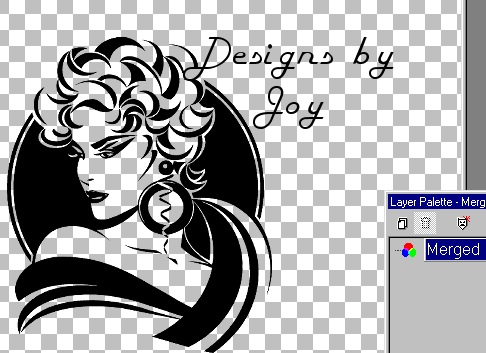
Download this zip file with the lady
and bear in psp format
I also add the two fonts you see here.
Open the image and add your name
If there is more than one layer,
merge visible so there is one layer.
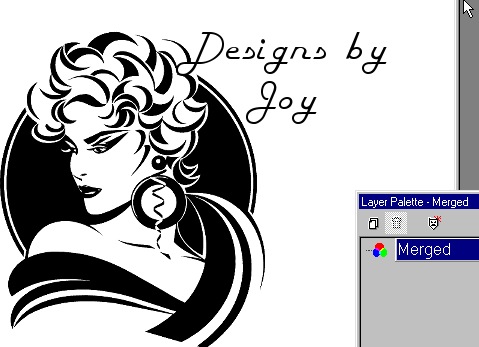
Add a layer, drag under so it is the bottom layer.
Fill with white. Merge visible layers.
Effects/Texture Effects (psp7)/Emboss
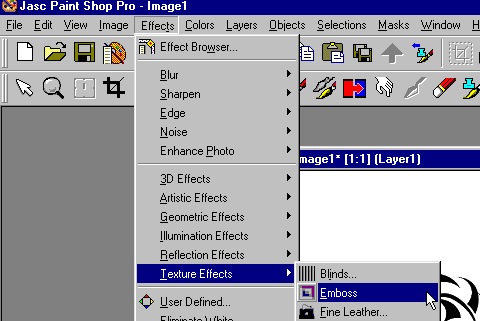
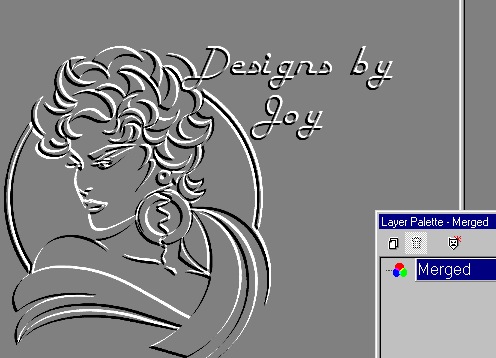
You should end up with something like this.
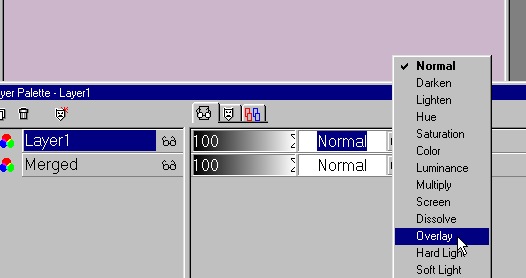
Add a layer. Fill with a color you like.
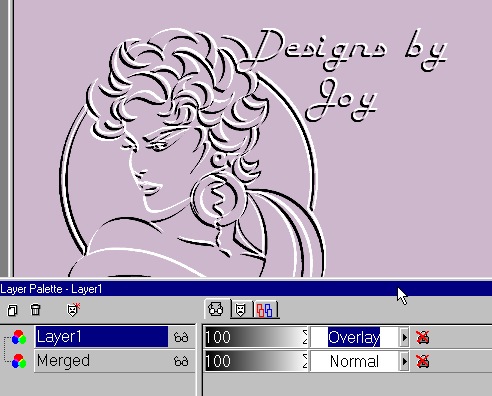
click on the Layer Palette/ click on the down arrow/Overlay.
This is what you should see.
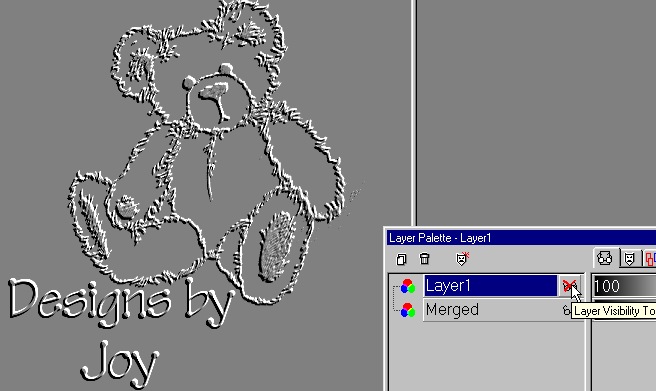
Crop the extra space away.
Merge visible.
 |
Any black and white image will work.
Simply by changing the top layer fill color,
you can get many different results.
Even try other options like Screen, Difference etc.
Also adding a shadow to the transparent image give different results.
Finish the edges with the buttonizer if you like.
 |
I hope you enjoy this tutorial.